

PRESERVING THE TASTE: SIMPLE SALSA RECIPE

The beauty of preserving fruits + veggies is capturing the taste of summer in a jar!
We're not sure there's anything more quintessentially summer than the garden-grown goodness of a red-ripe, juicy tomato. Here in the south, warmer temperatures persist well into September with tomatoes continuing to grow and thrive. What better way to capture the earthy, sweet and savory tastes of the season than canning and preserving?
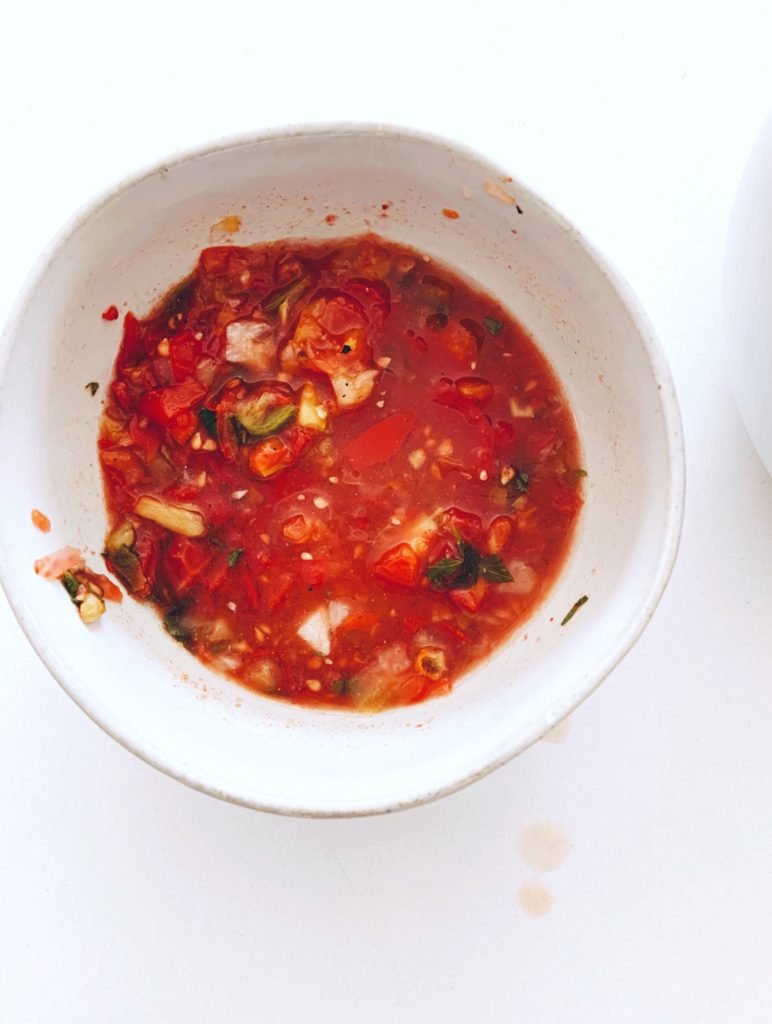
Here's one of our favorite summer salsa recipes. We mainly used cherry tomatoes, combined with a few random heirlooms we had on hand. We're so looking forward to opening one of these jars in the winter months to enjoy with our nachos, tacos and enchiladas. That's of course assuming they last that long!
✖︎ ✖︎


Summer Salsa For Canning
Serves: 4 – 16 oz. jars Prep Time: 90 min.
INGREDIENTS
4 cups cherry tomatoes (we mixed with a couple of reg. tomatoes)
1 yellow bell pepper
1 red bell pepper
3 jalapeno peppers with seeds (you can remove the seeds if you want milder salsa)
4 cloves of garlic
1 medium-large red onion
1 cup fresh cilantro
3/4 cup white vinegar
1/2 teaspoon cumin
3/4 teaspoon salt
3/4 teaspoon pepper
INSTRUCTIONS
1. Prepare 4 – 16 oz. canning jars with lids and bands. We do this by washing in hot soapy water. Once the jars, lids and bands are clean, allow to dry.
2. Rough chop all of your veggies, garlic, onion and cilantro. Using food processor and working in small batches, further chop veggies. We do tomatoes, then bell peppers, jalapeno peppers, garlic cloves, red onion and cilantro. In total, we had four different batches in food processor. If you try to add too much to food processor, it will not chop as well. We love using the food processor because it saves time; however, you do not have to use one, will just require more chopping. You can also adjust your chopping based on whether you prefer chunky or less chunky salsa.
3. Place all chopped veggies in large sauce pan. Add white vinegar and spices.
4. Bring salsa to boil and simmer for 2-3 minutes. Remove from heat.
5. You’re now ready to fill your prepared jars with salsa. We use a small measuring cup to ladle into jars. Once the jar is filled, leaving a couple of inches at top, wipe any excess off lid, providing good clean rim for the lid. Place lid and band on filled jar. Close tightly. Continue this step with next three jars. You will have some salsa left over, but not enough to fill another jar. We put this in the refrigerator for our family to eat with our dinner tacos.
6. Place sealed jars of salsa in water bath, making sure jars are completely covered with water. We do not use a special pot for this step, just pot large enough one to hold the jars and deep enough for jars to be covered in 1-2 inches of water. The jars will boil on stove in bath for 30-45 minutes.
7. Remove jars from water and allow to cool completely. As jars are cooling, you may hear lids pop, indicating they are sealed. Sometimes this happens without the popping sound. You can test lids by pressing in center. If it doesn’t press down, it’s sealed. If it presses down and makes clicking sound, it did not seal. You can retry hot water bath to see if it will seal. Place any unsealed jars in refrigerator and use within a week. Store sealed jars in cool, dry place and use within 6 – 9 months.
8. Pull from your pantry and enjoy! If you live in an area with seasons, this is an especially nice treat during the cold, long winter months.